We think it's really important that you have an idea of what the most common problems with hand casting kits are before you commit to buying one. You love the idea of making a cast but are worried about what might go wrong. When you’re searching online for hand casting kits, all you see are perfect results and claims from sellers about how easy their kits are to use.
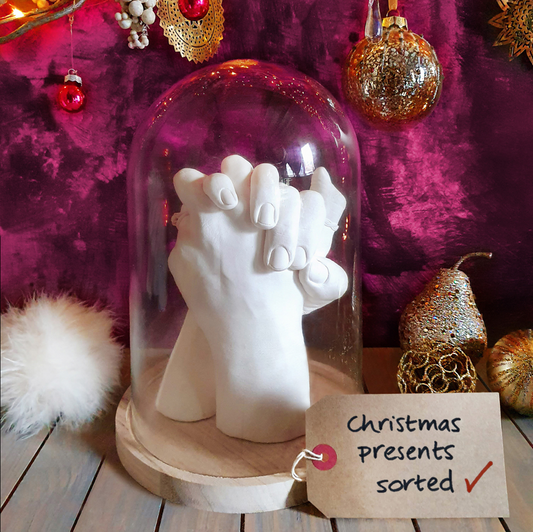
You may be particularly worried because you want to make a casting to mark a special occasion. This might be a wedding or a special anniversary. Or you might need to make a cast with a loved one who is elderly or very unwell. Sometimes you only get one shot at making this lasting memory so you want to be sure it's going to work.
We know it can be hard to find information about what might go wrong, so here we're going to explain the top 5 most common problems with hand casting kits and how to avoid them (or fix them!).
Problem 1. Casting Gel Sets Too Quickly
Occasionally we hear from customers who haven’t been able to get their hands into the bucket before the casting mixture (alginate) has started to set. That is obviously super frustrating so here are our top tips.
How to Avoid Your Gel Setting Too Quickly
Temperature Alginate sets more quickly when the water or room temperature is warmer, so use cold water from the tap to give yourself as much time as possible to get it mixed. Using cold water will mean you will need to keep still for longer so make sure you find a really comfortable position to hold before you start mixing. If possible, avoid making your casting on any particularly hot days!
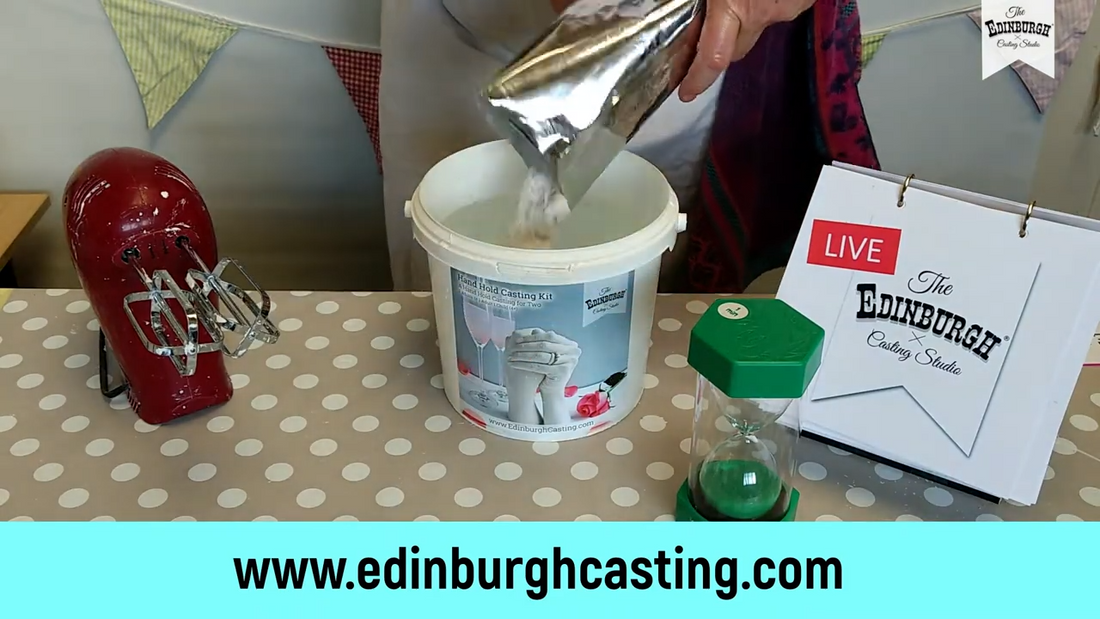
Mixing You should always use an electric mixer as getting our premium alginate mixed in time with a hand whisk or a wooden spoon is going to be incredibly difficult before it starts to set.
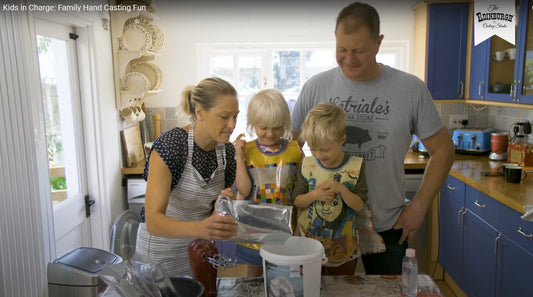
Get Help Get a friend or family member to pour in the bags of alginate while you mix, this will mean you can just keep mixing and will save you time.
Adding the Alginate Add half a bag of alginate at a time and mix it fairly slowly until it’s just absorbed into the water before adding the next half bag. Once all the alginate powder is absorbed, turn up the electric mixer to full speed and mix until smooth. You can see our video demonstrations here:
Mixing Alginate - Edinburgh Casting Studio Couple Kit
Mixing Alginate - Edinburgh Casting Studio Family Kit
How to Fix It
If you’ve used one of our kits and followed all of our top tips but still didn’t manage to get it mixed in time, get in touch by emailing us at edinburghcastingstudious@gmail.com and we can arrange to send you more alginate to have a second attempt.
A Note About Other Kits
Our kits include quick-setting alginate because this type of alginate captures the best detail of your hands, including jewelry. Some kits that we have tested use lower quality slow-setting alginate. While this gives you plenty of time to get it mixed and get your hands in the bucket, just remember that you may have to stay in position for up to 10 minutes! This is surprisingly hard to do and can be really uncomfortable even for able-bodied people and almost impossible for for younger children or elderly/frail relatives.
Just be aware that the longer you have to hold still and the more uncomfortable you become, the more you will end up moving your hands and this will result in a poor cast with lost detail like this:

Problem 2. Bubbles on the Skin Surface
A very common problem with hand casting kits are the appearance of unwanted small or even larger bubbles on the surface of your cast like this:

These bubbles are caused by air getting trapped in the alginate during mixing.
How to Avoid Bubbles on the Skin Surface
Mixing Make sure that the alginate is mixed as thoroughly and smoothly as possible. As explained above, you can use colder water to allow yourself extra time to get it thoroughly mixed to eradicate any bubbles.
How to Fix It
You can carefully scrape away tiny bubbles using a suitable tool. Don’t try and flick them off as this will result in little craters on the skin surface. Our kits come with a wooden tool that can be used for small bubbles or you can use a craft knife or scalpel.
You should remove larger bubbles by gradually scraping them off. Do this carefully layer by layer until you reach the level of the skin surface. A craft knife or scalpel is best for this.
Watch our video demonstration here:
Problem 3: Lost Fingertips
One of the most upsetting problems with hand casting kits occurs when air gets trapped in the fingertips in the mold that you’ve created. When this happens the liquid stone mixture won’t be able to reach the tips so you can end up with a cast that looks like this:

How to Avoid Losing Fingertips
Hand Position Make sure that fingertips are in contact with the other hand when you form the shape you’re going to dunk into the bucket. Fingertips that are ‘floating’ as shown below are hard to fill with the stone:


Plaster Pour To avoid getting air trapped in fingertips make sure you hold the mold at an angle when you first pour in the liquid stone, as shown below:


TOP TIP! As an extra precaution, first just fill up to the fingertips, rotate the bucket to ensure the fingers are all coated, then tip the plaster back out into the bowl before filling your mold as instructed in the booklet.
How to Fix It
Just in case you still lose some fingertips, we recommend holding back a bit of stone powder before mixing it up so you can make repairs as shown in our demonstration here:
Problem 4: Holes or Channels in the Skin Surface
It’s not unusual to have some tiny holes in the surface of the skin like those shown here:

These are caused by tiny air bubbles getting trapped in the stone liquid.
Occasionally, you may even have channels in the plaster like this:

These are caused by water separating from the stone powder during the setting process.
How to Avoid Holes or Channels in the Skin Surface
Mixing If you don’t spend enough time thoroughly mixing your stone it may start to separate during the pour. Make sure it’s thoroughly mixed for about 5 minutes until you've removed all lumps and it’s starting to slightly thicken.
Tapping You must keep tapping the bucket during the stone pour to release air from the liquid stone. Keep tapping at every stage of the pour and after you’ve filled the mould up to the top of the wrists. Take it in turns if it gets tiring, but try to keep tapping both sides of the bucket until the liquid stone starts to thicken and then stop. This will bring all the bubbles to the surface and prevent the liquid stone from separating and forming channels.
How to Fix It
Hold back some of your stone powder (just a couple of spoonfuls) in case you need to make some repairs. Mix equal parts of stone powder to water, then you can fill in the holes and channels as shown in our video demonstrations here:
Problem 5: Black Dots Appearing on the Surface
Very occasionally we hear from customers who have started to see little black dots appearing on their hand casts in the days after making them. This is rare, but obviously upsetting if you think your cast is ruined, so here are our top tips:
How to Avoid Black Spots Appearing on your Hand Cast
Make sure you dry your cast out in a well-ventilated, dry place, ideally on a cooling rack (the type you use for baking). In cold weather, if you can put it next to a radiator that is ideal. Make sure air can flow all around the cast and turn it from time to time so that the base gets exposed as well.
How to Fix It
Apply a dab of slightly diluted bleach to the little spots using a cotton bud or white tissue. These should disappear very quickly.
Once the spots have been removed, place your casting in a dry and well-ventilated space to dry for a further week.
If You Need More Help
We hope we have clearly explained all of the most common problems with hand casting kits here. If you follow all of our top tips and watch our videos, you should have a really positive hand casting experience! However, if you've used one of our kits and anything else goes wrong just get in touch with our award-winning customer at edinburghcastingstudious@gmail.com and we'll do everything we can to help. We're here to hold your hand!